
Tie-dyed T-shirts
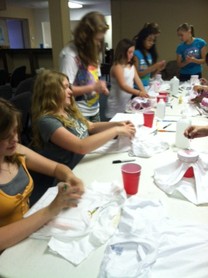
Wanted to share how to make a new type of tie-dyed shirt. Super easy and you can actually control what the design looks like and how smudged the colors get.
Materials:
T-shirt, permanent markers, alcohol, eye-droppers, book/board
Optional: Solo cups, rubber bands
Procedure:
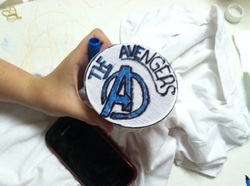
1. Before drawing the design slide a book or board in between the shirt to make sure the colors don't bleed through. You can also place a Solo cup in between the shirt; place a rubber band over the shirt to secure it above the cup-it just makes the shirt tighter and easier to draw on (See picture). Just slide the cup around as you continue to draw.
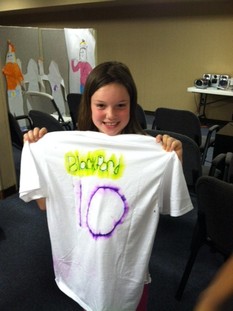
2. Draw your design using permanent markers.
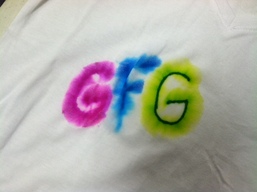
3. Use the eye-dropper to drop alcohol onto the marker color. The color will begin to bleed. The more you drop the alcohol onto it the more it bleeds. You control how tie-dyed your shirt really becomes.
4. Allow to dry completely-all alcohol must evaporate.
5. Once it's dry, throw into the dryer for 5 minutes, this will help set the color.
6. Washes normally-color will fade somewhat.
**Thanks to Mrs. South, our school art teacher, for sharing this craft with me!!
Wanted to share how to make a new type of tie-dyed shirt. Super easy and you can actually control what the design looks like and how smudged the colors get.
Materials:
T-shirt, permanent markers, alcohol, eye-droppers, book/board
Optional: Solo cups, rubber bands
Procedure:
1. Before drawing the design slide a book or board in between the shirt to make sure the colors don't bleed through. You can also place a Solo cup in between the shirt; place a rubber band over the shirt to secure it above the cup-it just makes the shirt tighter and easier to draw on (See picture). Just slide the cup around as you continue to draw.
2. Draw your design using permanent markers.
3. Use the eye-dropper to drop alcohol onto the marker color. The color will begin to bleed. The more you drop the alcohol onto it the more it bleeds. You control how tie-dyed your shirt really becomes.
4. Allow to dry completely-all alcohol must evaporate.
5. Once it's dry, throw into the dryer for 5 minutes, this will help set the color.
6. Washes normally-color will fade somewhat.
**Thanks to Mrs. South, our school art teacher, for sharing this craft with me!!
 RSS Feed
